
Getting a glam look on Rakshbadhan adds joy to your celebrations. You just need some essential tools that flawlessly give you that mesmerizing appeal. In this article, we’ll see some easy DIY ideas for ring lights, blenders, eyelashes, and brush kits to get that beautiful charm on Rakshabadhan.
4 DIY Makeup Tools For Glamorous Rakhi Looks:
DIY Blenders:
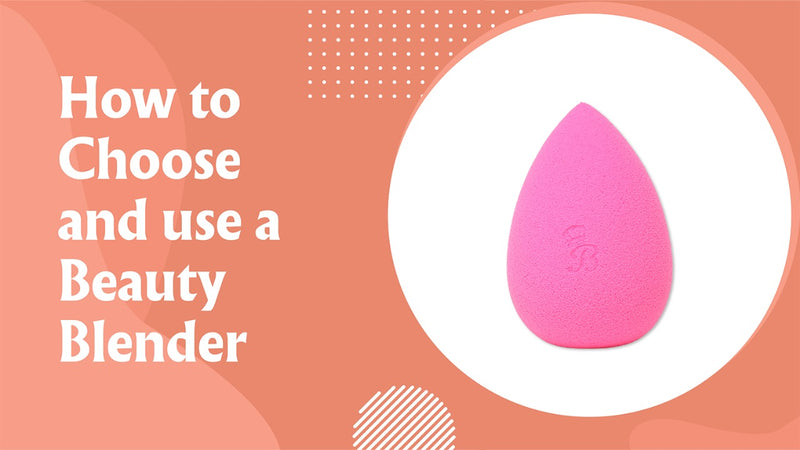
Beauty blenders are the heart of any makeup. Here are some DIY ideas to create blenders with easily available items at home or local shops.
Materials:
- 4-5 soft sponges,
- small scissors,
- mild sanitizing alcohol, etc.
Process:
- Opt for the hydrophilic sponge. They feel softer and stiffer than normal sponges. They retain water inside and spread makeup smoothly without holding it in its pores.
- Dip the sponge And scissors in separate sanitizing solutions and let them dry on a clean surface.
- Now, cut the sponge into ideal shape (tear, wedged, etc.) and keep the corners blunt.
- Tada! Your DIY beauty blender is ready!
If you’re occupied and unable to take time out for material shopping, you can try specially curated, ready-to-use, and good-quality beauty blenders available online.
DIY Ring Lights:
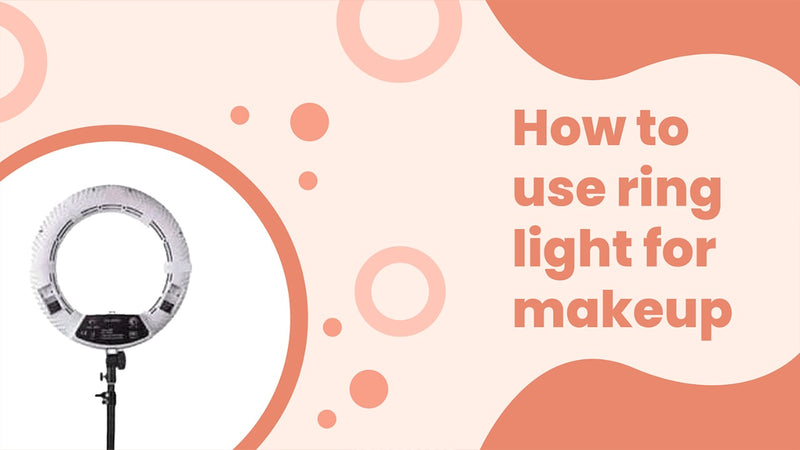
Getting ring lights can feel expensive, especially when you are a newbie. That’s why we have shared this easy DIY Ring light idea on a budget, below:
Materials:
- Aluminum foil,
- transparent tape,
- Zip ties
- metal wreath frame
- thick cardboard (bigger than a metal wreath)
- Adhesive rope LED lights with at least 20 LEDs in it,
- Scissors, cutters,
- pencil/ pen
- A tripod stand.
Process:
- Keep the metal wreath on the cardboard and mark the frame’s lining with a pencil.
- Cut the cardboard ring safely with the cutter. This round-cut cardboard ring is the foundation for your ring light.
- Wrap aluminum foil around that round-cut cardboard ring.
- Peel the cover of the adhesive rope light and stick it to the foil-wrapped cardboard from inside to outside in three/four circles.
- If you don’t find an adhesive rope light, you can use zip-ties to fix the non-adhesive rope LED light to the foiled cardboard.
- If you’re using zip-ties, make holes with equal distances by using the pointed end of the scissor around the foiled cardboard. Insert the plastic wire of the zip-tie into the hole and lock it.
- Make sure you leave the adequate length of the LED light’s outer end to connect it to the power plug.
- Use tape or zip-ties to fix the metal wreath to the foiled cardboard with rope LED light.
- Tape this set-up to a certain height as required on the tripod stand. You can put it on a table too.
- Connect it to the power plug to check the overall setup.
- Voila! Your DIY ring light is ready to use for getting that sculpted look for min-blowing selfies with your bro on this Rakhi!
This affordable DIY trick feels time-consuming for some. So, you can always look for our good-quality and budget-friendly ring lights to get that enticing makeup and fun reels with your brothers on Rakhi!
DIY Eyelashes: Getting your lashes for each festival or special occasion can cost so much in salons.So, let’s see this easy DIY idea to craft homemade lashes:
Materials:
- Make-up brush with dark bristles
- Scissors
- spatula/ spoon
- A small plastic sheet
- Measuring tape and thread
- Dark colored adhesive
- Curling iron/ eyelash-curler
Process:
- Stand in front of the mirror. Hold the tread on your natural lash lines for both eyes to check the lash width.
- Cut the thread according to the length of your lash line.
- Place the plastic sheet on a flat surface. This plastic sheet acts as a seam.
- Use the string used to measure the lash line to determine the width of the seam.
- Apply adequate drops of dark-toned adhesive glue on the seam and wait until it gets semi-dry.
- Cut a portion of the brush’s bristles from its base to get the desired length.
- Pick up long bristles with tweezers. Gently put them on the semi-dried adhesive. Press these lashes with light pressure using a spatula or spoon,
- Add bristles on the seam line until you get the proper thickness that looks like natural lashes.
- Seal the thick layer of bristles with a thin layer of adhesive and let it dry for 5 min.
- Cut the excess dried glue from the outer seam. Also, gently remove the dried adhesive’s residue with the pointed end of the brush or spoon.
- Gently peel this setup from the plastic sheet and cut the excess seam of bristles.
- Remove the excess length of blisters to give your style.
- Curl them using a curling iron or warm eyelash curler.
- Tada! Your DIY eyelashes are ready.
If you feel this process is tedious, get our ready-to-use eyelashes for that perfect glam look.
Brush kit:
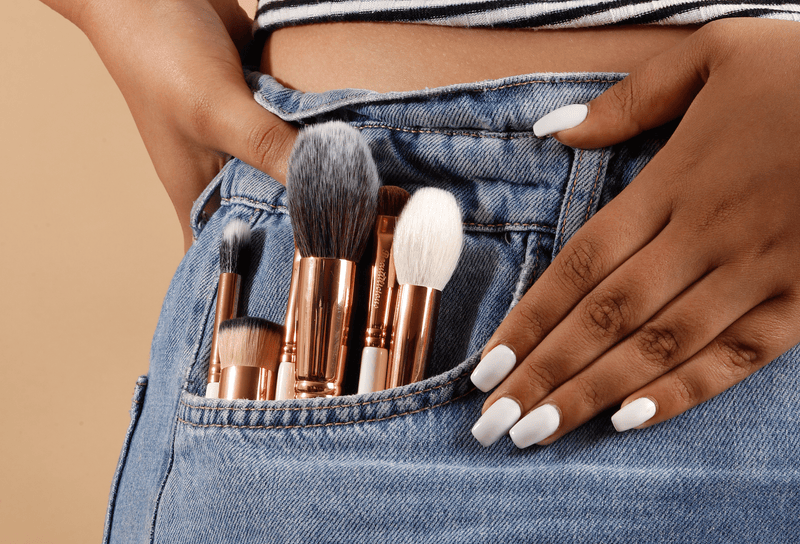
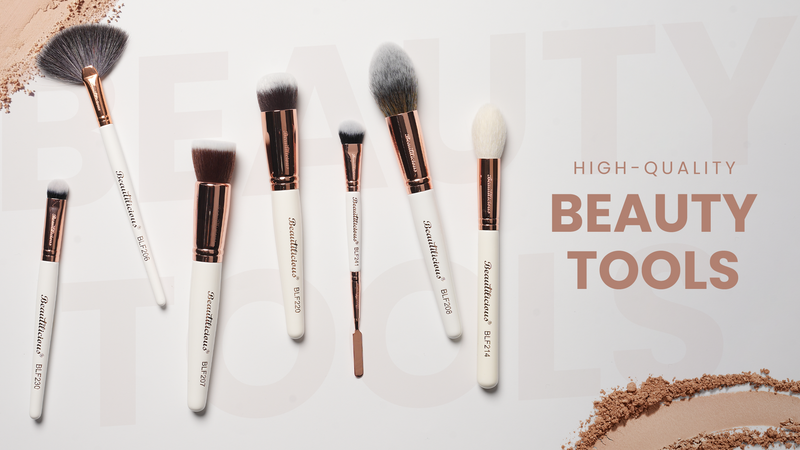
A brush can do wonders for contouring and highlighting your chin cut and sharp nose! Getting a set of professional brushes can feel heavy on pockets. Explore this DIY brush idea for getting that pretty Rakshabandahn look:
Materials:
- Scissors,
- Your hair or fake wig hair
- A new Pencil with an eraser at the back
- Cutter
- Electric Trimmer
- Needle nose plier
- Rubber band
- Strong glue
Process:
- Remove the eraser from the back of the pencil leaving the metal cap at the end.
- Cut the required amount of hair from your locks or wig. Make sure these hairs are shampooed, conditioned, and dried.
- Put that bunch of hair in a rubber band according to the diameter of the eraser’s metal cap.
- Trim the tied hair from one end with the trimmer to get the desired plain surface for the bottom.
- Add a drop of strong glue to the base of the metal cap and fix the hair in the cap. Let it dry for 5 min and cut the rubber band
- Apply pressure on the metal cap to crimp the hair and get the desired shape of the brush neck.
- Remove the excess hair with the trimmer to get a soft and even surface.
- Your DIY brush is ready. You can create 8-10 brushes with different lengths and sizes.
Many of us may not create a perfect brush on the first attempt. But, practice makes you perfect! If you want quick options, explore our value-for-money collection of Brush kits with long-lasting durability!
Why Us?
Beautilicious is built on trust! Your makeup needs are our responsibility. So, considering the makeup tools requirements, we have launched our high-quality and budget-friendly range of blenders, lashes, lights, brush books, etc.

We also offer a huge discount of 35% on Rakshabandhan on products like blenders, ring lights, makeup organizers, puffs, etc.,
Final Thoughts:
Each tool was a DIY project for a makeup artist who invented it for easy makeup. if they can do it, so can you!
Use these DIY ideas to create your tools to create wonderful memories and beautiful selfies with your loving siblings.
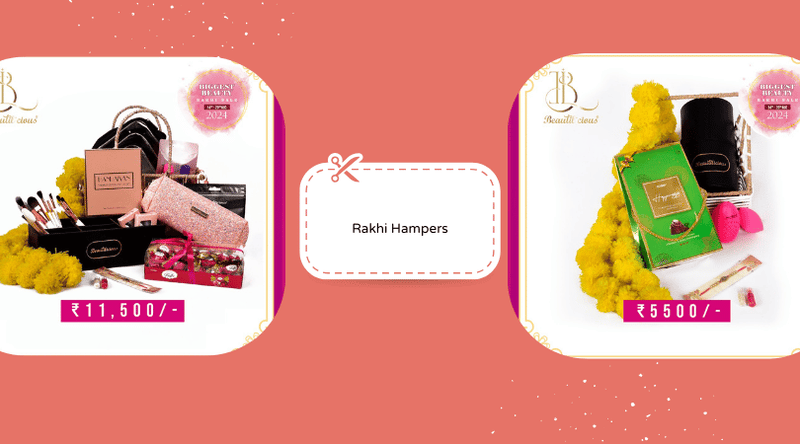
Also, explore our delightful rakhi hampers with complementary treats for giving a thoughtful gift to your sister on Rakshabandhan!
These premium hampers include must-have makeup tools to help your sister get the signature glam look!


